
Best car dashboard trim removal tool kit shopping usually starts after the first scratch, you pry one corner, the panel flexes, and suddenly you hear that clip pop in a way that feels expensive. The good news is, interior trim is designed to come apart, but it expects the right leverage, the right shape, and a little patience.
This guide helps you pick a kit that actually works for U.S. vehicles, then use it without turning a simple stereo swap, dash cam hardwire, or rattle fix into a broken-retainer hunt. I’ll also point out what most “50-piece kits” don’t tell you, because more tools isn’t always more useful.
According to NHTSA, keeping your attention on safe vehicle operation is critical, so if your project involves the steering column area, airbags, or wiring that affects safety systems, it’s worth slowing down and considering professional help.
What a good trim tool kit actually does (and why cheap ones fail)
A dashboard trim kit has one job, apply controlled leverage without marring soft-touch plastics or cracking brittle trim. When a kit feels “bad,” it’s usually because it slips, flexes too much, or has sharp mold lines that act like a blade.
- Material matters: Nylon composite tools tend to be stiff enough to pop clips but softer than the dash surface, so they’re less likely to leave shiny scuffs.
- Edge finish matters: A smooth beveled edge slides under panels; rough flashing from poor molding can gouge trim even if the tool is plastic.
- Leverage shape matters: Wide forked tools spread load across two sides of a clip point, reducing the “pinch and crack” effect.
- Tool thickness matters: Too thick and you can’t start the gap; too thin and it bends, then suddenly releases and you slam into the panel.
If you’ve been using a flathead screwdriver with a towel, you already know the failure mode: it concentrates force in one tiny spot. A proper set spreads force and gives you a predictable pry angle.
Quick self-check: which kit do you need for your job?
Not everyone needs a giant bundle. Before buying the best car dashboard trim removal tool kit for your garage, match the kit to the work you do most often.
- Head unit / screen swap: Look for a mix of wide panel poppers and forked clip tools, plus a couple of thin wedges for starting tight seams.
- Dash cam hardwire / running wire: Thin wedges and long “spoon” tools help tuck cable along A-pillar and headliner edges, though be careful around curtain airbags.
- Door panel + dash rattles: A sturdier wide pry tool helps release stubborn retainers; a clip-puller reduces broken Christmas-tree fasteners.
- Occasional one-off project: A small 5–8 piece kit is often enough, as long as the tools are well finished.
If your vehicle has lots of piano black, glossy trim, you’ll want extra-soft nylon and more patience. That finish marks easily, even with “safe” tools.
Buying checklist: what to look for in the best car dashboard trim removal tool kit
Here’s what I’d prioritize when comparing kits that look almost identical online. You’ll notice none of this depends on marketing claims.
- Nylon composite, not brittle plastic: Nylon tends to flex and return; brittle plastic tends to chip at the edge, then that chip becomes a scratch point.
- At least one forked clip tool: Essential for popping panels where clips sit close to the surface, common around infotainment surrounds.
- Thin starter wedge: Helps you “open the gap” without forcing a thick tool in and whitening the plastic.
- Wide panel tool: Better for long trim strips, it reduces localized stress that can crack older panels.
- Metal tools only where appropriate: A metal clip puller can be useful for stubborn fasteners, but it’s riskier against visible surfaces unless you use tape or a protective shim.
- Comfort + control: A slightly textured handle or thicker body helps you apply steady force rather than jerky movement.
One more reality check, “number of pieces” is often filler: duplicates, oddly shaped tools, and door-panel rivet tools you may never touch.
Tool types explained (so you know what you’re paying for)
Most kits are a variation of the same core shapes. Knowing what each does makes it easier to spot a “good” bundle versus random plastic.
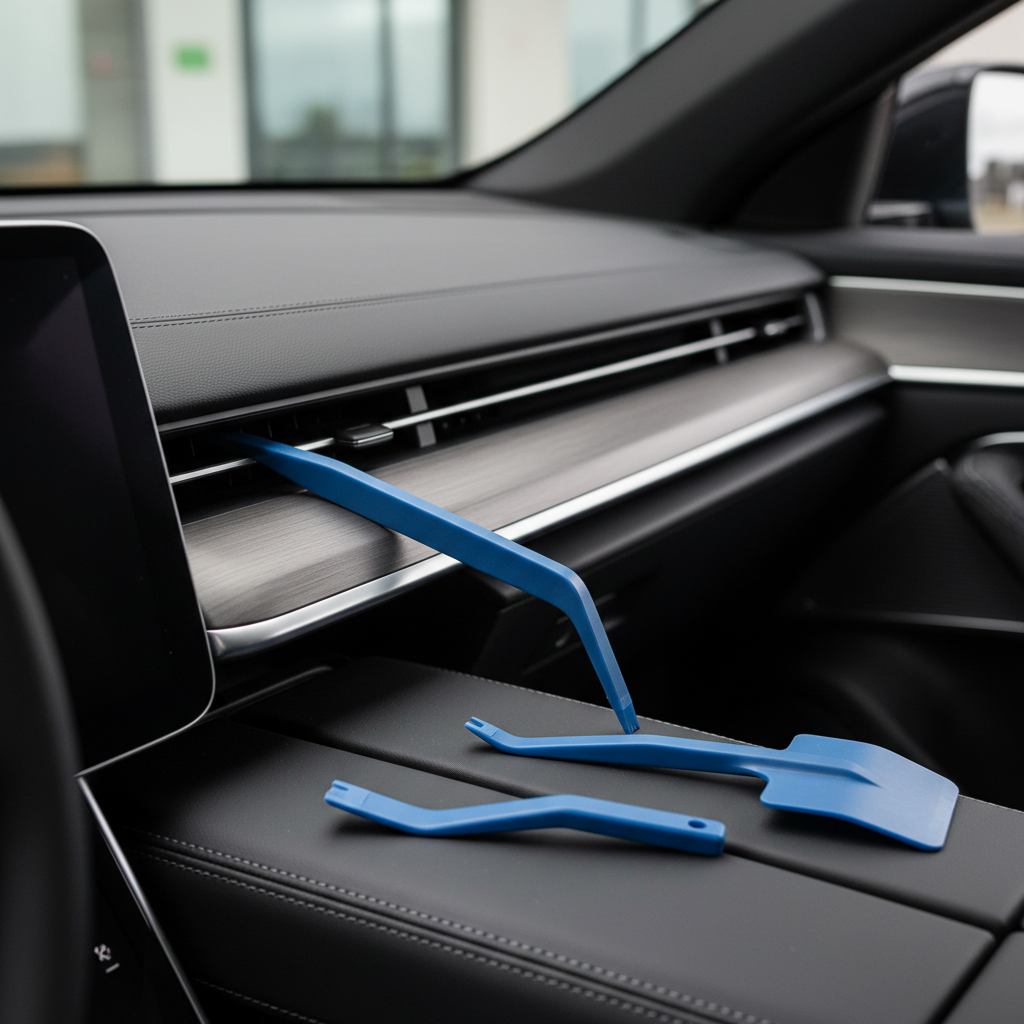
Wedges and “spoons”
These start seams and help slide along long edges. They’re also the easiest to use incorrectly, if you twist too hard you can leave a pressure mark.
Forked pry tools
These straddle a clip location, letting you lift around the retainer instead of prying on one side. For dashboards, this is often the difference between clean removal and broken clips.
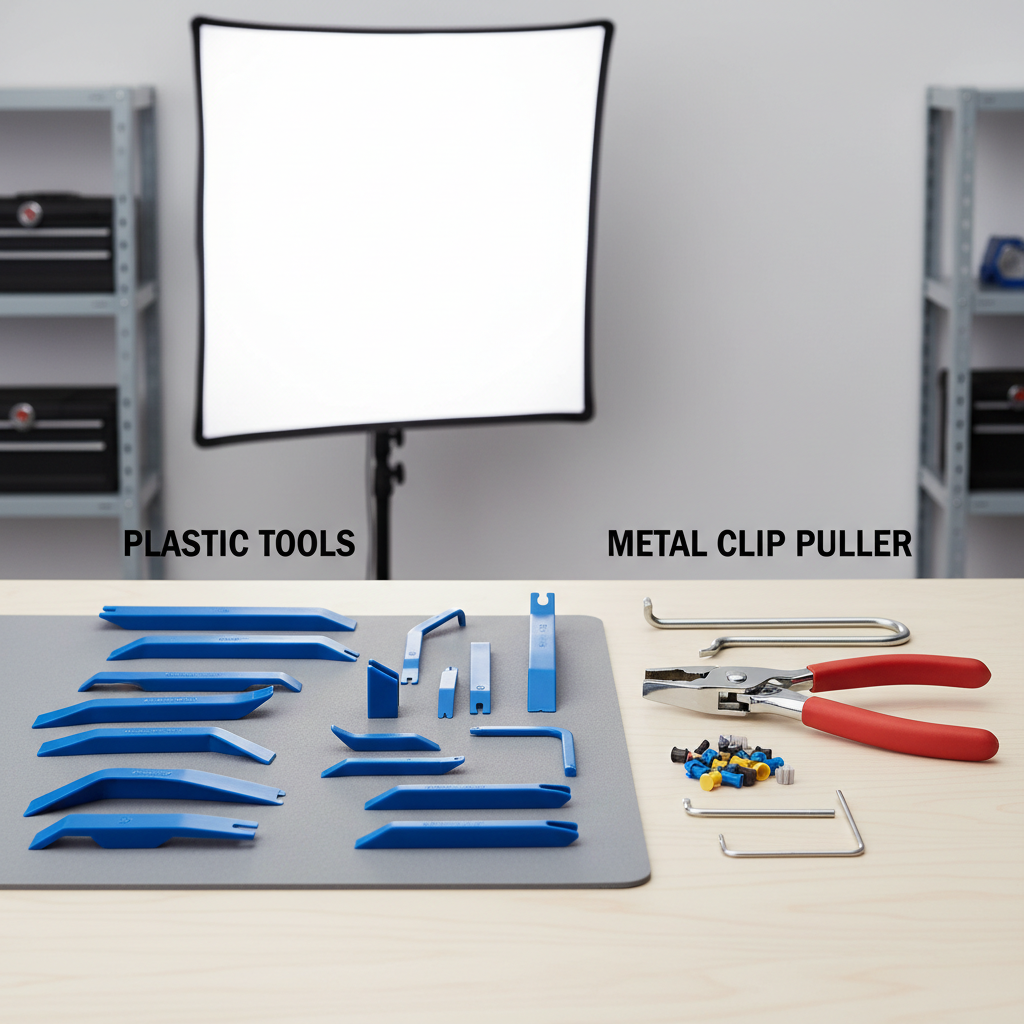
Clip pullers (plastic or metal)
They’re meant for push clips and Christmas-tree fasteners. Plastic versions are safer on visible areas; metal versions often grab better but need more care.
Pick and hook tools (often metal)
Useful for fishing out a dropped clip, lifting a wiring connector tab, or removing an O-ring in non-cosmetic areas. Keep them away from visible trim unless you’re shielding the surface.
A practical comparison table (small kit vs large kit)
If you’re stuck between a compact set and a “mega kit,” this rough matrix helps decide without overthinking it.
| Kit type | Best for | Typical pros | Common downsides |
|---|---|---|---|
| 5–8 piece nylon kit | Basic dash/console trim, occasional stereo swaps | Better quality per tool, less clutter | May miss a clip puller or extra-thin wedge |
| 12–20 piece mixed kit | Dash + door panels, DIY wiring runs | Good coverage, usually includes clip tools | Quality varies, some tools redundant |
| 40–80 piece “mega kit” | Frequent interior work, multiple vehicles | Lots of shapes, often includes fastener assortment | More filler pieces, edges may be rough on cheaper sets |
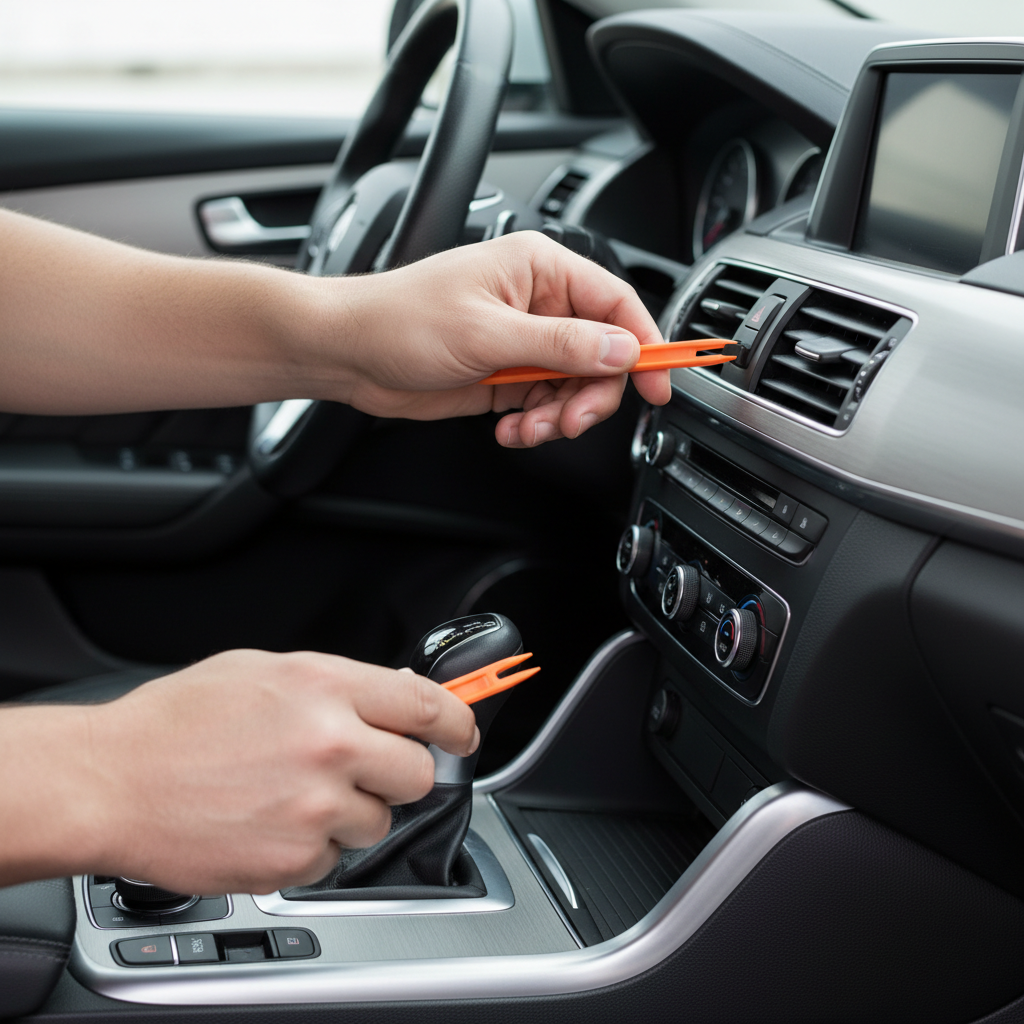
How to remove dashboard trim without breaking clips (step-by-step)
The best car dashboard trim removal tool kit still won’t save you from rushing. Interior panels usually fail because force goes the wrong direction, or you pry from the wrong starting point.
- Start with temperature in mind: Cold plastics can be brittle. If it’s winter, warming the cabin a bit often makes clips release more cleanly.
- Find the seam and the clip line: Many panels pop straight out, not up. If you pry “up” when it needs to pull “out,” clips snap.
- Use a thin wedge to open a gap: Create space, then switch to a wider tool for leverage.
- Work clip-to-clip: Pop one clip, move a few inches, pop the next. Don’t try to peel a long strip off in one dramatic pull.
- Support the panel near the clip: If you pry far from the clip, you bend the trim and stress the mounting points.
- Keep track of retainers: Some clips stay in the car body instead of the trim piece. Pull them out and reinstall on the panel before reassembly.
If you feel the panel flexing like it wants to crease, stop and reassess, you might be prying at a hidden screw location or a direction-lock clip.
Common mistakes that cause scratches, rattles, and broken retainers
Most damage comes from a few predictable habits, and they’re easy to avoid once you’re aware of them.
- Twisting the tool like a screwdriver: Pry tools work best with controlled leverage, not aggressive twisting that digs an edge into the surface.
- Using metal on visible surfaces: Even “one quick pry” can leave a permanent mark on soft-touch or gloss trim.
- Skipping the hidden fastener check: Some vehicles hide screws behind rubber mats, small covers, or inside pockets.
- Not replacing stretched clips: A clip that releases with a loud crack may still “work,” but it can cause future rattles.
- Pulling near airbags without a plan: A-pillars and steering wheel areas can be sensitive. If you’re unsure, pause and look up the service guidance for your vehicle.
According to SAE International, standardized service procedures help reduce errors and rework, which is a good reminder that interior trim removal is a “process,” not just force.
When it’s smarter to stop and get professional help
DIY is fine for many cosmetic panels, but some situations deserve caution. If your project touches airbag components, steering column covers, or wiring harnesses you can’t positively identify, consulting a qualified installer or technician is usually the safer move.
- Trim pieces integrated with airbag modules or curtain airbag paths
- Panels that won’t move after moderate, even pressure, which may indicate hidden screws or uncommon clip types
- Electrical issues after reassembly, like warning lights or features not working
Also, if you’re working on a leased vehicle or a high-end interior with delicate finishes, paying for clean removal can cost less than replacing one scratched trim piece.
Key takeaways before you buy
If you want one simple rule, prioritize tool quality and the right shapes over huge piece counts. A solid nylon set with a thin wedge, a wide panel tool, and a forked clip tool handles most dashboard jobs without drama.
Pick a kit that matches your most common task, practice on a less-visible panel first, and slow down at the first sign of resistance. That’s usually where damage starts.
FAQ
What is the best car dashboard trim removal tool kit for beginners?
A small nylon kit with 5–8 well-finished tools is often easier for beginners than a giant set. Look for a thin starter wedge and a forked clip tool, those two reduce most accidental damage.
Do plastic trim tools really prevent scratches?
They can reduce risk, but they don’t guarantee zero marks. Rough edges, dirt trapped in the seam, and hard twisting can still scuff, so wiping the area and using steady pressure matters.
Should I buy a kit with metal clip pullers?
If you remove lots of push clips or door panels, a metal clip puller can help. For dashboards and visible trim, metal tools are riskier unless you shield the surface with tape or a thin plastic shim.
Why do my clips keep breaking during trim removal?
Common causes include prying in the wrong direction, pulling too far from the clip location, or working in cold temperatures where plastics feel stiff. Sometimes clips are simply aged and brittle, replacements can be part of the job.
Can I remove A-pillar trim to run a dash cam wire?
Many people do, but A-pillars can be near curtain airbags. If you’re not confident about routing and reassembly, it’s reasonable to consult a professional installer to avoid interfering with safety systems.
How do I know if a panel has hidden screws?
If the panel won’t budge with moderate, even force at multiple points, assume there’s a fastener. Check under rubber mats, inside storage pockets, behind small caps, and near switches before prying harder.
What’s the quickest way to avoid rattles after reinstalling trim?
Make sure every clip is seated, replace any that look stretched or cracked, and confirm wiring isn’t pinched or tapping against the dash. A rattle fix often comes down to one missed retainer.
If you’re trying to choose the best car dashboard trim removal tool kit for a specific vehicle and project, and you’d rather not guess which shapes you’ll actually use, it can help to share your car’s make/model and what you’re removing, then narrow to a smaller, higher-quality set instead of buying a bulky kit you’ll never finish sorting.