
Best car stereo antenna adapter choices usually come down to one thing: matching your vehicle’s factory antenna plug and your new head unit’s antenna input, without creating extra signal loss. If you’ve installed an aftermarket stereo and suddenly FM sounds noisy, stations drop out, or AM turns to static, the adapter is often the missing link.
This topic looks simple until you’re holding two connectors that “almost” fit. Many adapters look alike, and the wrong one can leave you forcing a connection, stressing the antenna lead, or ending up with radio that works only when you wiggle the plug.
Below is a practical way to pick the right adapter, spot when you need a powered option, and avoid the common gotchas that waste an afternoon.
What a car stereo antenna adapter actually does (and what it can’t)
An antenna adapter is a small interface cable that converts your car’s factory antenna connector to the connector your aftermarket head unit expects. That’s it, it’s not a “signal booster” by default.
Where people get tripped up is that modern vehicles may use amplified antennas, diversity antennas, or antenna modules integrated into the rear glass or shark-fin. In those cases, you might need an adapter that also feeds power to the factory antenna amplifier. A basic passive adapter can’t replace that missing power.
According to the FCC, radio reception quality can be affected by interference and the receiving setup in addition to broadcast strength, so it’s worth treating the adapter as one part of a bigger chain, not the only variable.
Quick compatibility checklist (identify your connector in 5 minutes)
Before shopping for the best car stereo antenna adapter, take a minute to confirm what you’re adapting from and to. Most returns happen because the “vehicle side” was guessed.
- Vehicle make/model/year: many brands changed connectors mid-generation.
- Factory antenna plug shape: round Motorola-style, smaller “European” style, or a proprietary multi-pin.
- Head unit antenna input: most aftermarket units use Motorola (standard round) but not always.
- Factory amplified antenna? Look for an antenna amp fuse, an OEM amp module, or a powered antenna lead in the harness.
- Any existing adapters already installed from prior owners, those can confuse identification.
If you’re unsure whether your car uses an amplified antenna, check the vehicle service manual or a reputable fit guide. Guessing here is how people end up buying “works for most cars” adapters that don’t.
Adapter types you’ll see most (and when each makes sense)
Not all antenna adapters solve the same problem. Here are the common categories you’ll run into when shopping in the US market.
Passive connector adapters
These are simple plug converters with no power lead. They’re fine when your factory antenna is non-amplified and you only need a physical fit.
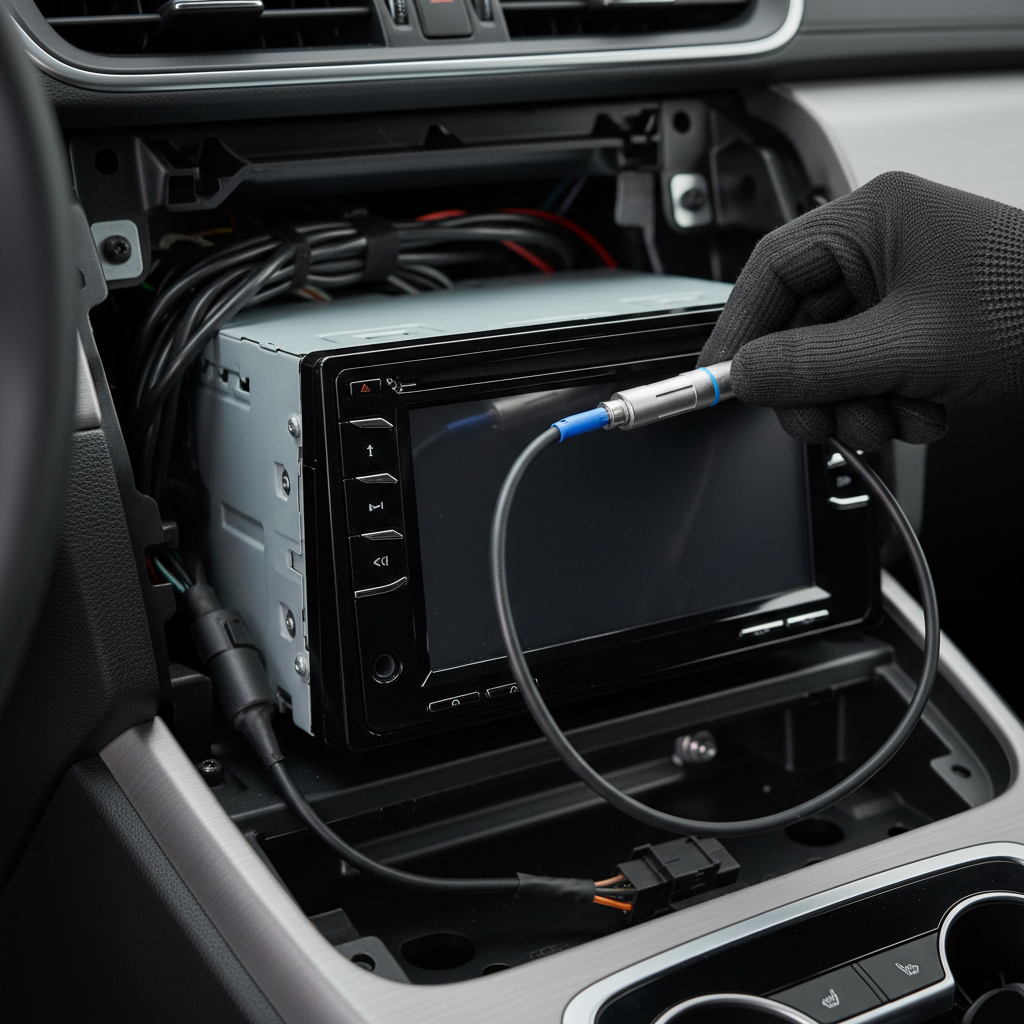
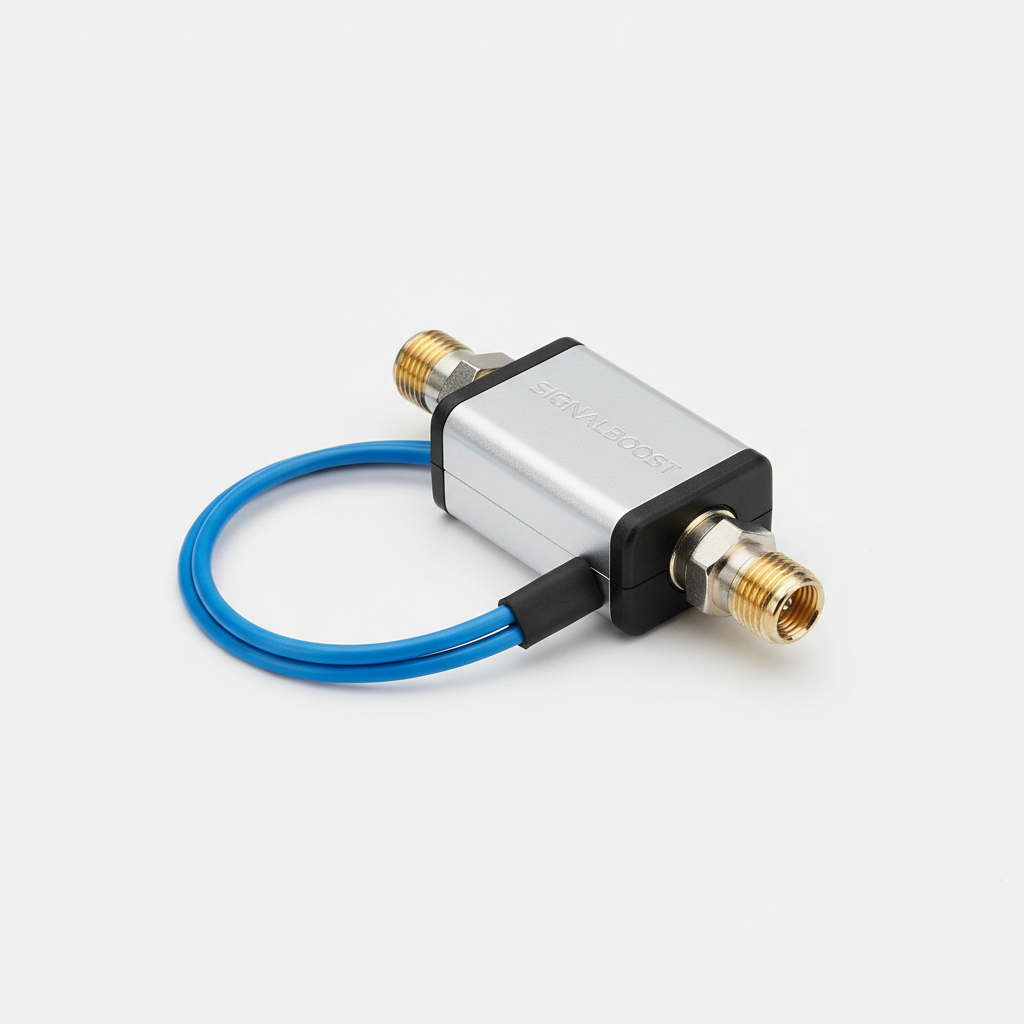
Powered antenna adapters (antenna amp feed)
These include a power wire (often blue) that needs to connect to the head unit’s remote turn-on or power antenna output. If your factory antenna system has an amplifier, this is often the difference between “barely any stations” and normal reception.
Diversity antenna adapters
Some vehicles have multiple antenna elements and a module that selects the best signal. Aftermarket integration can be vehicle-specific, so the “best” option here is usually the one designed for your platform rather than a generic cable.
European connectors (FAKRA and similar)
Many European vehicles use FAKRA-style connectors. These typically require a specific adapter to Motorola, and sometimes power injection depending on the antenna amplifier design.
Comparison table: how to choose the right adapter for your setup
If you don’t want to overthink it, match your situation to the right style of adapter, then confirm the exact connector type for your car.
| Situation | Likely symptom after stereo swap | Adapter to look for | Extra step |
|---|---|---|---|
| Factory antenna is non-amplified | Radio works, but plug doesn’t fit | Passive connector adapter | None |
| Factory amplified antenna (common in newer cars) | Weak FM, AM mostly static | Powered antenna adapter | Connect blue wire to head unit remote/antenna output |
| European connector (e.g., FAKRA) | No physical connection without forcing | FAKRA-to-Motorola adapter | May also need power feed |
| Diversity antenna system | Reception inconsistent, varies by direction | Vehicle-specific diversity adapter/interface | Follow brand-specific wiring guidance |
| Adapter fits but reception got worse | More hiss, fewer stations than stock | Higher-quality adapter, verify amplifier power | Check ground, routing, and connections |
What “best” means in practice: selection criteria that actually matter
For something as small as an antenna adapter, marketing can be louder than reality. Here’s what usually separates a reliable pick from a frustrating one.
- Correct connector geometry: a snug, fully seated fit matters more than brand name.
- Solid shielding and strain relief: helps reduce noise pickup and prevents breakage behind the dash.
- Low-loss construction: cheap, loosely crimped adapters can add loss and make fringe stations disappear.
- Powered lead quality: on powered units, the pigtail should be long enough to route cleanly and connect safely.
- Vehicle-specific notes: if a listing mentions your exact model/year and amplified antenna, it’s usually a better sign than “fits most.”
A small, honest rule: if your factory radio had strong reception and the aftermarket unit suddenly doesn’t, you’re probably missing amplifier power or you have a connector mismatch that’s “kind of” making contact.
Installation steps (passive vs powered) that prevent most reception issues
You can install an adapter in minutes, but the details decide whether reception stays stable over bumps and temperature changes.
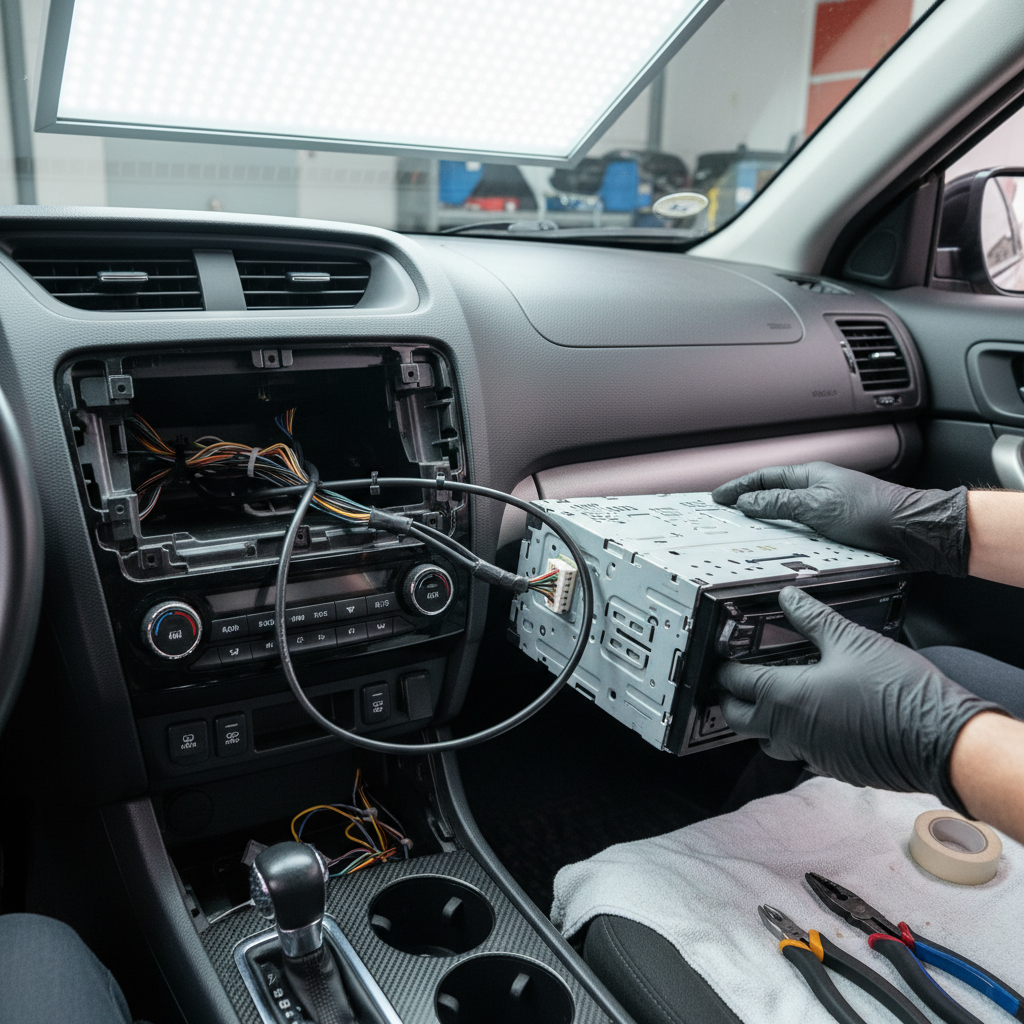
Passive adapter install
- Turn the vehicle off and remove the head unit far enough to access the antenna lead.
- Inspect the factory plug for bent pins, corrosion, or a loose outer shell.
- Connect factory antenna plug to the adapter, then adapter to the head unit input.
- Route the cable so it doesn’t pinch when you slide the stereo back in.
Powered adapter install (amplified antenna)
- Make the same physical connections as above.
- Connect the adapter’s power wire to the head unit’s remote turn-on (often blue/white) or power antenna output (often solid blue), based on your head unit manual.
- Use a proper crimp connector or solder/heat shrink, avoid twisting wires and taping.
- Verify reception with the dash still open, then reassemble.
Key point: many people connect the powered adapter wire to constant 12V, which can create drain risk or weird behavior depending on the vehicle. In many cases, the head unit remote output is the safer, intended trigger, but if you’re unsure, a car audio installer can confirm quickly.
Troubleshooting: if you installed an adapter and reception is still bad
If you already bought what looked like the best car stereo antenna adapter and the radio still struggles, don’t immediately blame the head unit. Work through these checks.
- Confirm the adapter is fully seated: partial insertion is common with tight dashboards.
- Check for an amplified antenna: if so, switch to a powered adapter or verify the power wire connection.
- Look for damaged antenna cable: pinched coax behind the radio can kill signal.
- Separate power wiring and signal wiring: routing antenna coax parallel to power wires can introduce noise in some installs.
- Test AM and FM separately: if one band is much worse, it can hint at antenna system design or a connection issue.
If reception only improves when you touch the metal radio chassis, that can suggest a grounding issue. Fixing ground is vehicle- and install-dependent, and in some cases you may want a professional to assess it rather than adding random ground wires.
Common mistakes to avoid (these waste money fast)
- Buying by brand alone: the “right” adapter is the one that matches your connectors and antenna system type.
- Ignoring the factory amp: amplified antennas are easy to miss, especially in vehicles with hidden glass antennas.
- Stacking adapters: chaining multiple converters can add loss and create loose connections.
- Forcing a near-fit: it may work today and fail next month, and it can damage the antenna lead.
- Assuming poor reception is normal: if OEM reception was good, your aftermarket setup can usually get close with correct parts and wiring.
When it’s worth getting help (or upgrading the plan)
If you’ve verified the connector type, used a powered adapter where needed, and reception stays unusable, the issue may be upstream: antenna amplifier module faults, a damaged antenna element, or vehicle-specific integration quirks. Diagnosing those can require a multimeter, trim removal, and service info.
In many cases, a reputable local car audio shop can test the antenna lead and confirm whether the amplifier is getting the correct trigger voltage. If you’re not comfortable working around airbags, pillar trims, or complex dash panels, getting help is a reasonable call.
Conclusion: picking the right adapter and getting clear radio again
The best results usually come from a simple approach: identify the exact factory connector, confirm whether your antenna system is amplified, then choose a passive or powered antenna adapter that matches. Once the fit is correct and the amplifier gets power when it needs it, most “my radio got worse” problems disappear without extra gadgets.
If you want one next step, pull the head unit, snap a clear photo of the factory antenna plug, and confirm whether your car uses an amplified antenna before ordering anything.
If you’re aiming for a cleaner, less trial-and-error install, it can help to use a vehicle-specific fit guide and buy the antenna adapter alongside your wiring harness, so everything in the signal path is matched from the start.