
How to jump start a car is mostly about doing the steps in the right order, because a simple mix-up with the clamps can create sparks, damage electronics, or just waste your time when you’re already stuck.
If your car clicks, the dash lights dim, or nothing happens when you turn the key, a weak battery is a common culprit, but it’s not the only one, and that’s where people get frustrated, they keep trying random things and the car stays dead.

This guide walks you through a clean step-by-step jump, a quick checklist to confirm it’s actually the battery, and a few realistic “what now” options if the jump doesn’t work.
Before You Start: Quick Safety and Setup
You don’t need to be a mechanic, but you do need to slow down for 30 seconds and set up safely. According to NHTSA, safe roadside behavior matters, and moving out of traffic when possible reduces risk.
- Park smart: Pull into a lot or shoulder with space, set both cars in Park (or Neutral for manuals), engage parking brakes.
- Turn everything off: Headlights, HVAC, radio, chargers, and the donor car’s accessories.
- Check your gear: Jumper cables with intact insulation, no exposed copper, clamps with solid spring tension.
- Don’t jump a damaged battery: If you see cracks, leaking fluid, heavy corrosion, or a swollen case, stop and call for help.
Key point: If you smell rotten eggs, see smoke, or hear hissing near the battery, don’t attempt a jump, that situation can be hazardous.
Is It Really the Battery? A Fast Self-Check
Plenty of “dead battery” moments are actually a starter issue, a bad connection, or even a key fob problem. This quick check saves you from jumping for nothing.
- Likely battery: Rapid clicking, dash lights flicker, interior lights weak, car was fine yesterday but sat overnight in cold weather.
- Could be a connection: One strong click, then nothing, and you can see loose or heavily corroded battery terminals.
- Could be starter/other: Lights stay bright but engine doesn’t crank, or you hear one loud clunk consistently.
- Could be something else: Car won’t go into gear or won’t recognize the key, especially with push-button start.
If you have a multimeter, a resting battery around 12.6V is typically healthy, and 12.0V or lower often indicates a low state of charge, but battery condition varies by age and temperature.
Step-by-Step: Jump Starting With Jumper Cables
This is the classic method. Do it in order, and keep the clamps from touching each other once connected.
1) Position the cars correctly
Park the donor vehicle close enough that cables reach comfortably, but the cars should not touch. Open hoods and locate the batteries or designated jump posts.
2) Identify terminals and grounding point
Find positive (+, often red) and negative (-, often black). If your car has a remote positive post and a chassis ground point, use those, many newer vehicles prefer it.
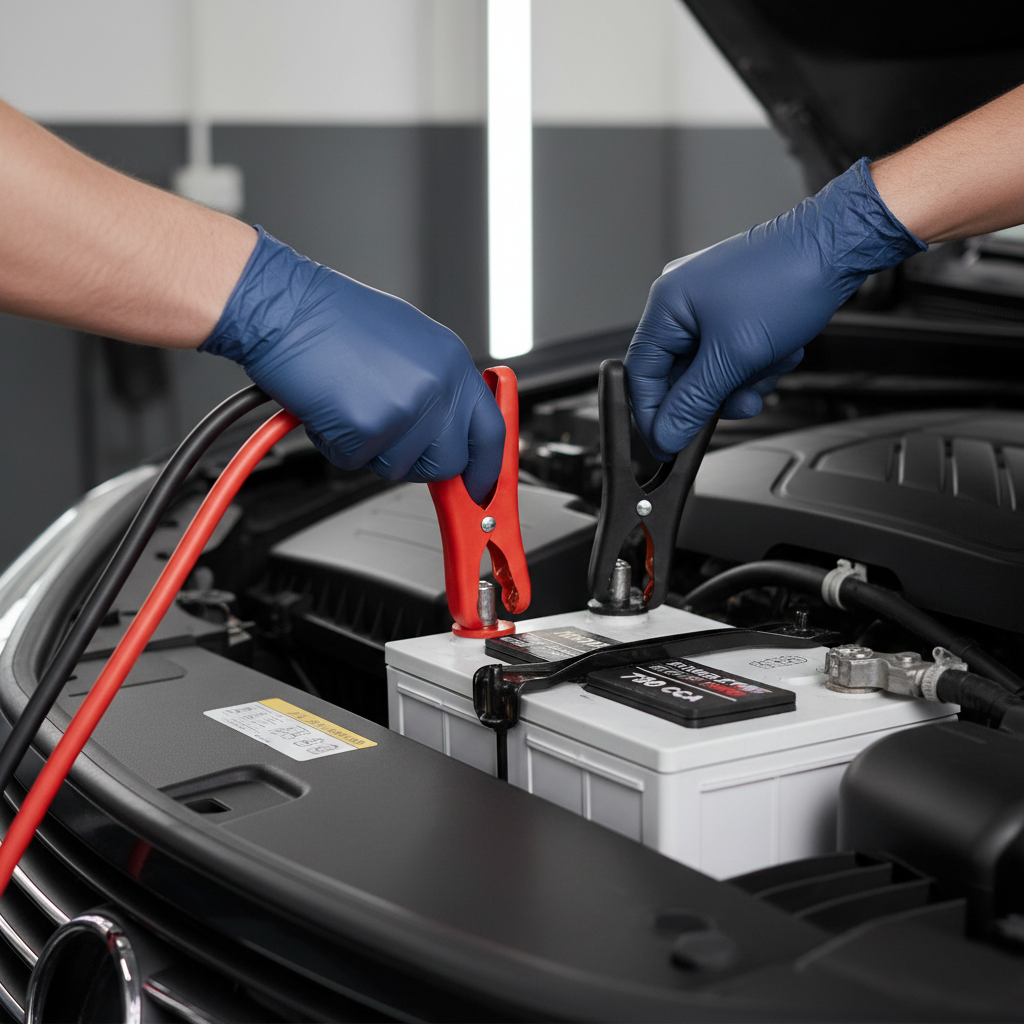
3) Connect the cables in the safest sequence
- Connect red clamp to dead car positive (+).
- Connect the other red clamp to donor car positive (+).
- Connect black clamp to donor car negative (-).
- Connect the other black clamp to a bare metal ground on the dead car, away from the battery (a solid engine bracket or designated ground point).
Why the last step matters: The final connection can spark a little, grounding away from the battery reduces risk around battery gases in many situations.
4) Start the donor car, then wait
Start the donor vehicle and let it idle. Wait 2–5 minutes. If it’s very cold, or the dead battery is very low, you may need closer to 10 minutes.
5) Start the dead car
Try starting for 3–5 seconds. If it doesn’t start, stop and wait another couple minutes before trying again, repeated long cranks can overheat the starter.
6) Remove cables in reverse order
- Remove black clamp from the dead car ground.
- Remove black clamp from donor negative (-).
- Remove red clamp from donor positive (+).
- Remove red clamp from dead car positive (+).
Keep clamps from swinging into each other or into metal parts as you remove them.
Portable Jump Starter Method (Often Easier)
If you’re doing this more than once every couple years, a portable jump starter usually pays for itself in convenience. The core idea of how to jump start a car stays the same, power to positive, ground to metal, then start.
- Turn the jump pack off (if it has a switch) and connect red to positive.
- Connect black to a chassis ground or the recommended negative point.
- Power on, wait 15–30 seconds if the manual recommends it, then start the car.
- Disconnect in reverse order and stow the pack.
Follow the manufacturer instructions for your model, some packs have a “boost” mode that should be used carefully and only when advised.
After It Starts: What to Do Next (So You Don’t Get Stranded Again)
Getting the engine running is step one, keeping it running is where many people slip up.
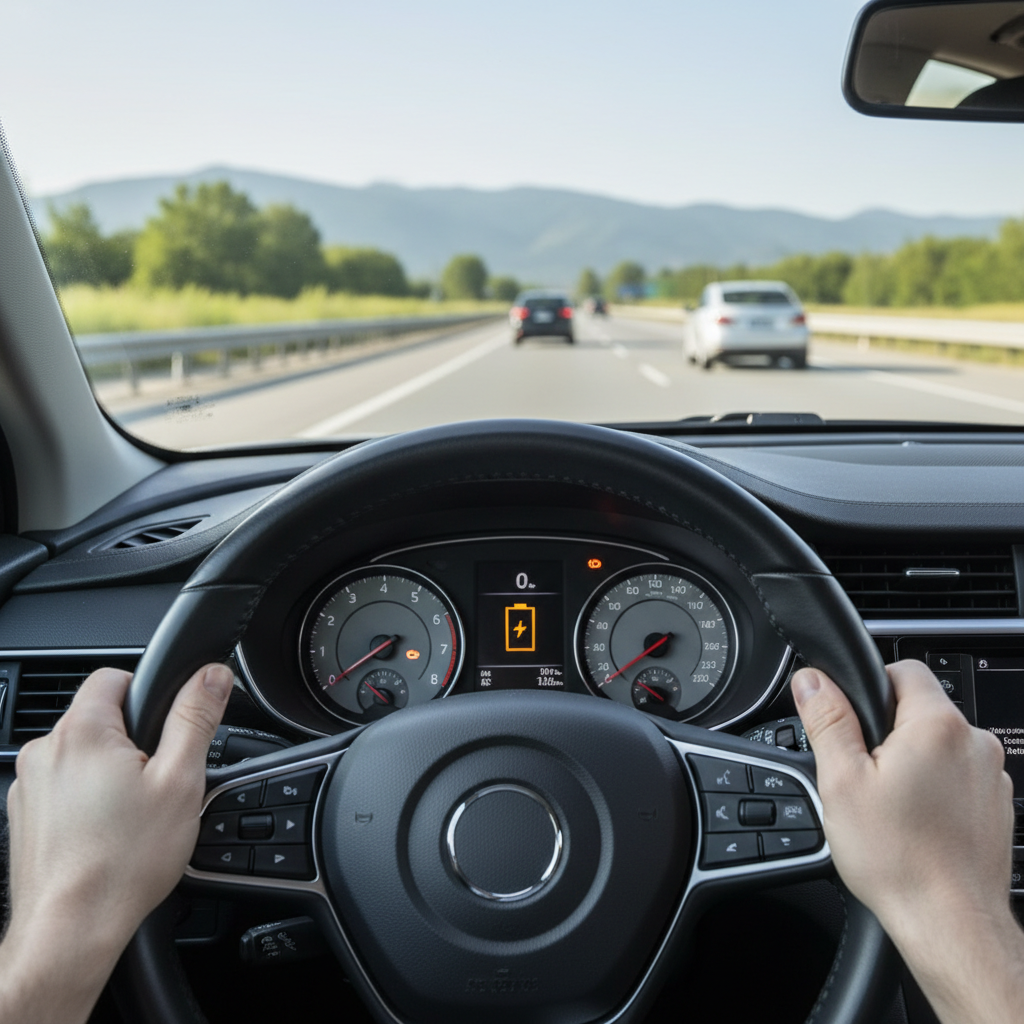
- Let it stabilize: Idle for a minute, then drive 15–30 minutes if conditions allow, stop-and-go traffic may recharge slower.
- Don’t shut it off immediately: If you’re at a gas station, fill up first, then drive a bit before turning the car off.
- Watch for warning signs: If the battery light stays on, charging system issues are possible.
According to AAA, weak batteries are a common source of roadside trouble, and many failures happen after temperature swings, if your battery is older, testing it soon is a smart move.
Troubleshooting: If the Jump Doesn’t Work
If you followed the clamp order and it still won’t crank, don’t keep repeating the same attempt, switch to diagnosis.
- No crank, no lights: Check terminal connection, clamp bite, and battery posts for heavy corrosion.
- Clicks but won’t turn over: Wait longer with donor idling, or use a stronger donor vehicle or jump pack.
- Cranks but won’t start: This may be fuel or ignition related, a jump won’t fix that.
- Starts then dies quickly: Alternator or charging system problems are possible, or the battery may be failing badly.
If cables get hot, clamps smoke, or you see significant sparking beyond a brief initial spark, stop and seek assistance.
Quick Reference Table: Cable Order and Timing
| Step | What you do | Common mistake |
|---|---|---|
| 1 | Red to dead car + | Mixing up polarity |
| 2 | Red to donor car + | Letting clamps touch metal |
| 3 | Black to donor car - | Loose clamp contact |
| 4 | Black to dead car ground (metal) | Connecting black to dead car - right next to battery |
| 5 | Donor idle 2–5 min, then start dead car | Cranking nonstop for 20+ seconds |
| 6 | Remove cables in reverse order | Pulling red clamps first and bumping metal |
When to Call for Professional Help
There’s no shame in tapping out early, especially when safety feels uncertain. Consider roadside assistance or a mechanic when:
- You see battery damage, leaks, swelling, or heavy corrosion.
- The car needs frequent jumps, even after a longer drive.
- The battery light stays on, or headlights pulse with engine speed.
- The vehicle has special procedures (some hybrids, EVs, and certain luxury models).
According to the vehicle owner’s manual, many manufacturers specify designated jump points and steps, and following that guidance reduces the chance of electrical problems.
Key Takeaways
- Order matters: Red to dead +, red to donor +, black to donor -, black to dead ground.
- Ground away from the battery: It’s a small detail that often prevents messy outcomes.
- Plan for the “after”: Drive long enough to recharge, then get the battery and charging system tested if needed.
Conclusion: Get Moving, Then Fix the Root Cause
If you remember only one thing about how to jump start a car, make it the clamp sequence and the grounding step, those two habits prevent most beginner mistakes. Once the engine runs, treat the jump as a temporary save, not a full repair, and take a short drive or schedule a battery and alternator check so the next start isn’t a gamble.
If you’re heading into winter, commute early, or park far from help, keep a basic set of quality jumper cables or a portable jump starter in your trunk, it’s one of those boring purchases that feels very smart the first time you need it.