
how to seal headlights to prevent moisture starts with one slightly annoying truth: the water you see inside the lens is usually a symptom, not the problem itself.
If you only wipe the inside dry or drill a “vent hole” without fixing the leak path, the fog tends to return after the next rain, wash, or temperature swing, and the headlight can get dimmer over time.
The good news, most moisture issues come from a few predictable spots: the lens-to-housing seam, cracked plastic, bad rear cover seals, or clogged vents. This guide helps you pinpoint which one you have, then seal it in a way that actually lasts.
Quick expectation check: if the housing is cracked or warped from heat, sealing can still work, but replacement may be the more stable long-term fix.
Why moisture gets into headlights (and why it keeps coming back)
Headlights are not perfectly airtight boxes. Many assemblies use vents to equalize pressure as temperatures change, which is why you can sometimes see a light haze that clears on its own.
The trouble starts when water enters faster than it can escape, or when humid air gets trapped and condenses repeatedly. A few common causes show up in real-world conditions:
- Failed perimeter seal between lens and housing, often from age, UV, or prior headlight restoration heat.
- Leaky rear dust cover (bulb access cap) or a missing gasket after a bulb swap.
- Damaged vent or clogged vent membrane, which traps moisture instead of letting it breathe out.
- Hairline cracks in the lens or housing from impacts or overtightened mounting points.
- Improperly seated bulbs or aftermarket LED kits that prevent the cover from sealing.
According to NHTSA, headlights are safety equipment and should provide adequate illumination for night driving, so persistent moisture that reduces output is worth treating as more than cosmetic.
Before you seal: a fast diagnosis checklist
Before you reach for silicone, figure out what kind of moisture you’re dealing with. This saves time and avoids sealing in a problem you actually need to vent.
Self-check in 5 minutes
- Light mist that clears after 10–30 minutes of driving: often normal venting behavior, especially in humid climates.
- Droplets, pooling water, or streaks: usually an active leak.
- Only happens after a car wash: seam leak, rear cover leak, or pressure forcing water past a weak gasket.
- One headlight only: points to a local seal failure, crack, or cover issue.
- After bulb/LED install: check dust cover fitment and gasket alignment.
If you suspect a leak, do a simple “targeted water test”: dry the outside, run a gentle hose stream around one area at a time (top seam, sides, rear cover), then check where new fogging begins. Avoid high-pressure washers here, they can force water past seals that would otherwise hold.
Tools and materials that usually work best
Most DIY reseals fail for boring reasons: the wrong sealant, dirty surfaces, or sealing the wrong location. Here are materials that tend to behave well on headlight plastics.
- Butyl headlight sealant (ribbon/rope): preferred for lens-to-housing seams on many OEM assemblies because it stays flexible and serviceable.
- Automotive RTV silicone (sensor-safe, exterior grade): useful for small cracks or rear cover gaskets, not ideal for full perimeter reseals if you want future serviceability.
- Isopropyl alcohol (70–91%) and lint-free towels: for cleaning the sealing channel.
- Plastic trim tools and clamps: for reseating the lens evenly during reassembly.
- Low heat source (heat gun on low or an oven if you’re experienced): to soften butyl when separating some housings.
Key point: household silicone and “all-purpose caulk” often fail early because they don’t bond well to automotive plastics and they can lift at the edges after heat cycles.
How to dry the headlight safely before sealing
Don’t skip drying. Sealing a damp housing traps moisture inside, which can keep fogging for weeks and may shorten bulb or ballast life. Many people only realize this after they’ve “fixed” it twice.
Practical drying methods
- Remove bulbs and rear covers, then let the assembly sit in a warm, dry place for several hours.
- Use gentle airflow like a hair dryer on low heat, held at a distance, moving constantly to avoid warping plastic.
- Desiccant trick: place silica gel packs near the opening (not inside where they can fall into reflectors), then close loosely.
Avoid blasting high heat directly into the housing. Overheating can haze the lens, distort the seal channel, or damage reflective coatings, and that can turn a simple reseal into a replacement job.
Step-by-step: seal headlights to prevent moisture (by scenario)
how to seal headlights to prevent moisture depends on where the water gets in. Pick the scenario that matches your diagnosis and follow that path instead of doing every step “just in case.”
Scenario A: Leak at the lens-to-housing seam (most common)
- Remove the headlight assembly if access is tight, you want room to clean and clamp properly.
- Open the housing only if your headlight is designed for it. Many are butyl-sealed and can be separated with controlled heat, but some are permasealed and crack easily.
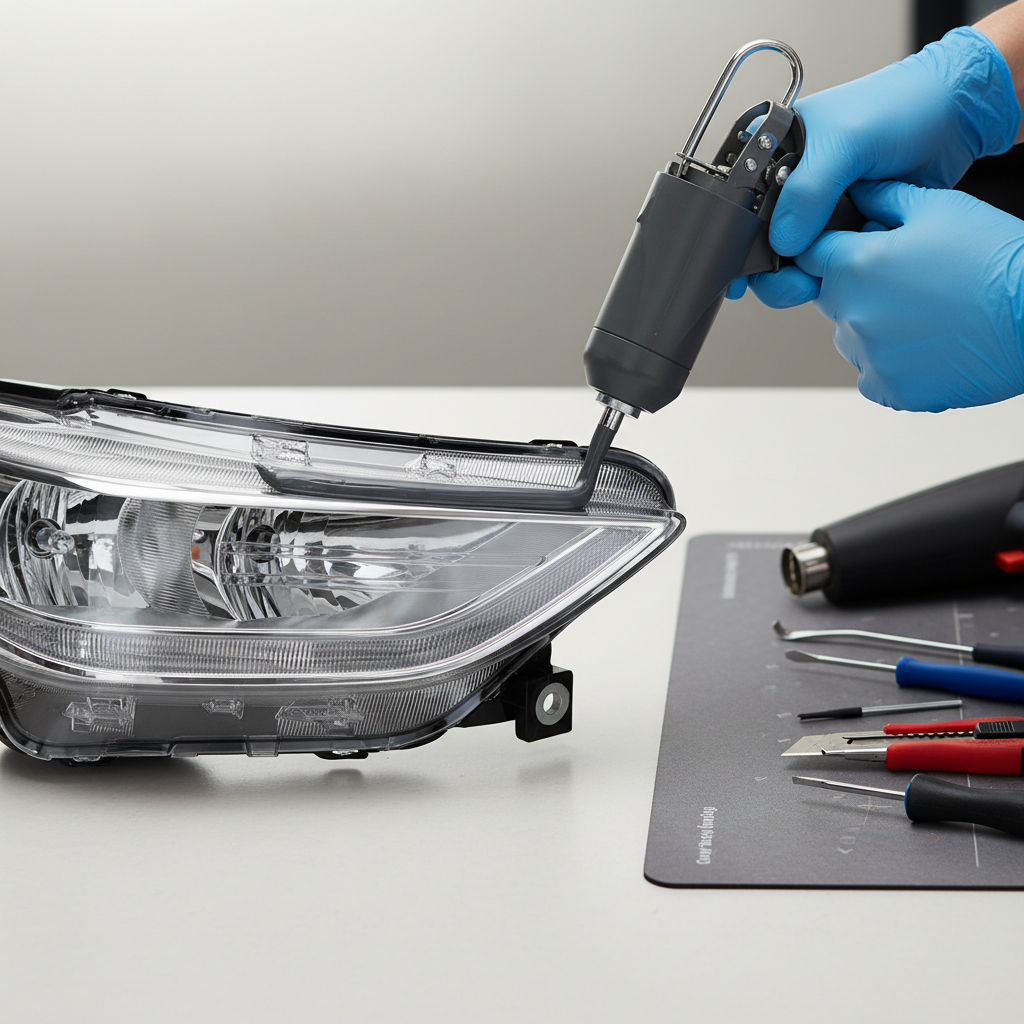
- Remove old butyl from the channel as completely as you can, leaving a clean groove for the new bead.
- Lay fresh butyl evenly with no gaps, thicker at corners where leaks often start.
- Reassemble and clamp around the perimeter, then warm slightly to help butyl flow and bond.
If your unit is permasealed and you can’t realistically open it without damage, you can sometimes seal the exterior seam, but it’s less elegant and can look messy unless you mask carefully.
Scenario B: Rear dust cover or bulb access cap leak
- Inspect the gasket for flattening, tears, or missing sections.
- Clean the mating surfaces with alcohol, then let dry fully.
- Replace the gasket if available. If not, a thin RTV bead can work, but keep it minimal so the cover still seats.
- Confirm bulb seating and wiring clearance so the cover can close without being pushed open.
This is a common “after I changed bulbs” problem, especially with larger aftermarket LED drivers that force the cover to sit crooked.
Scenario C: Small crack in the lens or housing
- Mark the crack and clean around it, then dry completely.
- Use clear automotive RTV on the lens exterior for minor cracks, smoothing the bead to reduce dirt buildup.
- For housing cracks, use black RTV or plastic repair epoxy designed for automotive plastics.
Cracks near mounting tabs can keep spreading due to vibration. In those cases, a plastic weld or replacement assembly might be more reliable.
Scenario D: Vent problem (clogged or missing)
- Find the vent (often a small tube or membrane port on the back of the housing).
- Clear debris gently without puncturing the membrane.
- Replace broken vent parts if available. Sealing vents completely is tempting, but it can increase condensation by trapping humid air.
A simple decision table: reseal vs. repair vs. replace
If you’re on the fence, use this table to decide what’s worth your time and what’s likely to come back.
| What you see | Most likely cause | What to do | DIY difficulty |
|---|---|---|---|
| Light haze that clears quickly | Normal venting | Monitor, clean vents, avoid sealing vents | Low |
| Droplets or pooling water | Seam leak or cover leak | Dry fully, reseal seam with butyl or fix cover gasket | Medium |
| Moisture returns after every wash | Weak gasket or cracked housing | Replace gasket, spot-repair crack, retest | Medium |
| Visible crack, yellowed lens, poor output | Material aging or impact damage | Consider replacement, restore lens if housing is sound | Medium to High |
| Warped housing or melted areas | Heat damage | Replacement usually makes more sense | High |
Key takeaway: if water is actively pooling, treat it like a leak, not “normal condensation.” If it’s only a brief haze, your fix might be vent maintenance rather than sealing everything shut.
Common mistakes that make moisture problems worse
Some popular “hacks” work short term and quietly create new problems later. These are the ones I’d be careful with.
- Sealing vents completely: you might reduce direct water entry, but you can trap humidity and increase fogging.
- Using too much RTV: thick beads can prevent parts from seating, and cleanup around lenses looks rough fast.
- Not cleaning the channel: sealant bonds to dirt and old adhesive poorly, then lifts at the edges after heat cycles.
- Skipping a retest: you want a controlled hose test before reinstalling bumper covers and clips.
- Ignoring electrical corrosion: if you see green/white residue on connectors, address it before it becomes an intermittent lighting issue.
According to SAE International, proper headlamp performance depends on maintaining optical surfaces and correct assembly condition, which is another way of saying “foggy and compromised housings reduce what the lamp can do.”
When you should consider a pro (or replacement)
DIY resealing is reasonable when the housing is intact and you can identify a leak path. You may want professional help, or a new assembly, in a few situations:
- Advanced lighting systems (HID projectors, AFS/ADB modules) where moisture can damage expensive components.
- Permasealed headlights that crack when opened, especially on newer vehicles.
- Repeated failures after resealing, which suggests a hidden crack, warped channel, or vent design issue.
- Safety inspection concerns if output is visibly reduced or beam pattern looks scattered.
If you’re not sure whether your headlight can be safely opened, a local body shop or lighting specialist can usually tell quickly, and that can prevent a costly “I broke it trying to fix it” moment.
Conclusion: keep it dry, keep it bright
how to seal headlights to prevent moisture works best when you treat it like a small diagnostic job, dry the housing fully, then seal the exact failure point with the right material. The boring steps, cleaning, even pressure, and a retest, are the steps that stop the problem from looping back.
If you want one practical next move, do the quick water test and inspect the rear dust cover seal, those two checks catch a lot of real-world cases without tearing anything apart.
If you’re fixing this on a daily driver, it’s worth doing neatly. Headlights sit front and center, and a clean reseal looks like maintenance, not a patch.
FAQ
- Is headlight condensation always a leak?
Not always. A light haze that clears after driving can be normal breathing through vents, but droplets, streaks, or standing water usually means a leak path that needs repair. - Can I just drill a hole to let moisture out?
It may reduce fog briefly, but it often invites more water and dirt. In many cases it’s better to clear the factory vents and fix the seam or cover leak instead. - What sealant should I use for the headlight lens seam?
Butyl headlight sealant is commonly preferred for lens-to-housing seams because it stays flexible and is serviceable later. RTV can work, but it can make future opening difficult. - How long should I let sealant cure before driving?
It depends on the product. Many RTV silicones need a full cure window before heavy exposure to water. Follow the label cure time, and if you’re unsure, waiting overnight is often safer. - Why does moisture return right after I reseal?
Usually one of three things: the housing wasn’t fully dried, the actual leak point wasn’t addressed, or vents are clogged and humidity can’t escape. - Will moisture damage LED bulbs or HID ballasts?
It can. Electronics and connectors don’t love repeated damp cycles, and corrosion can create flickering or failure. If you see corrosion, cleaning and dielectric grease may help, but severe damage may need parts replacement. - Should I replace the whole headlight assembly?
If the housing is warped, heavily cracked, or the unit is permasealed and repeatedly leaks, replacement is often the more stable option even if it costs more upfront.
If you’re working through repeated fogging and you’d rather not guess, a headlight reseal kit with proper butyl, cleaning supplies, and the right tools can make the process faster and cleaner, and it helps you avoid the common “wrong sealant, wrong spot” trap.