
best car exterior plastic restorer black trim searches usually come from the same frustration: your paint still looks decent, but the faded gray trim makes the whole car look older than it is.
The tricky part is that “restorer” can mean a few different chemistries, and the right choice depends on your trim type, climate, and how much time you want to spend maintaining the look.
This guide breaks down what actually works in real driveways, how to choose without overpaying, and how to apply it so you get weeks or months of dark trim instead of a quick shine that vanishes after the first wash.
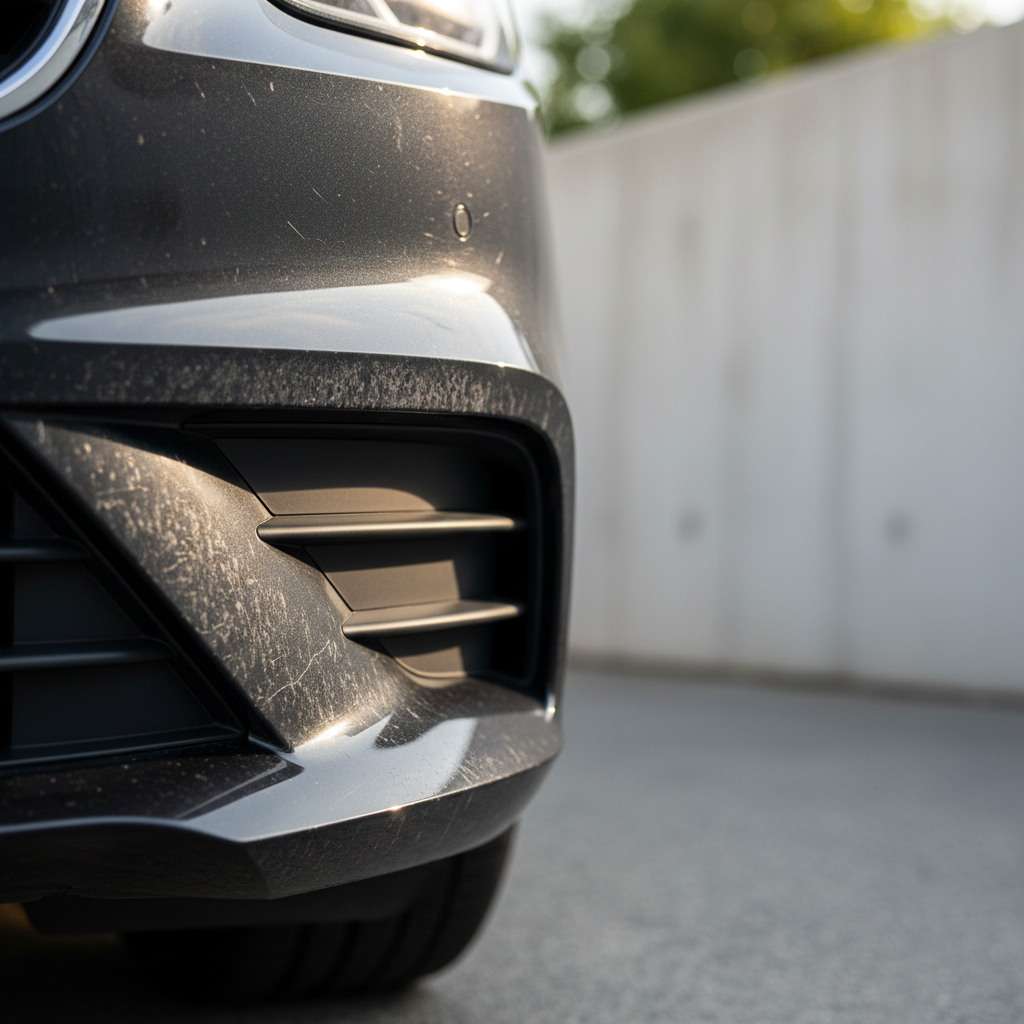
Why black trim fades (and why some “restorers” fail)
Exterior plastics fade for a few reasons, and knowing which one you’re dealing with saves money. Most black trim is textured polypropylene or similar plastic with a surface layer that oxidizes from UV exposure and heat cycling.
Many quick “dressings” look great for a day because they sit on top of oxidation, then soap and rain strip them off. A real restorer either cleans and re-darkens the surface or adds a more durable coating that bonds better than a typical tire shine.
- UV + oxidation: turns black to chalky gray and feels dry.
- Harsh detergents: strong APCs and traffic film removers can accelerate fading if used often.
- Embedded grime: texture holds old wax, mineral deposits, and road film that blocks even coverage.
- Previous silicone dressings: can cause streaking or “high spots” when you switch products.
According to the U.S. Environmental Protection Agency (EPA), UV radiation can degrade certain polymers over time; on cars, that degradation often shows up first on unpainted plastics because they have no clearcoat barrier.
What counts as the “best” restorer: product types that matter
When people ask for the best car exterior plastic restorer black trim option, they usually mean “darkest look with least upkeep.” In practice, there are three common categories, and each has a different tradeoff.
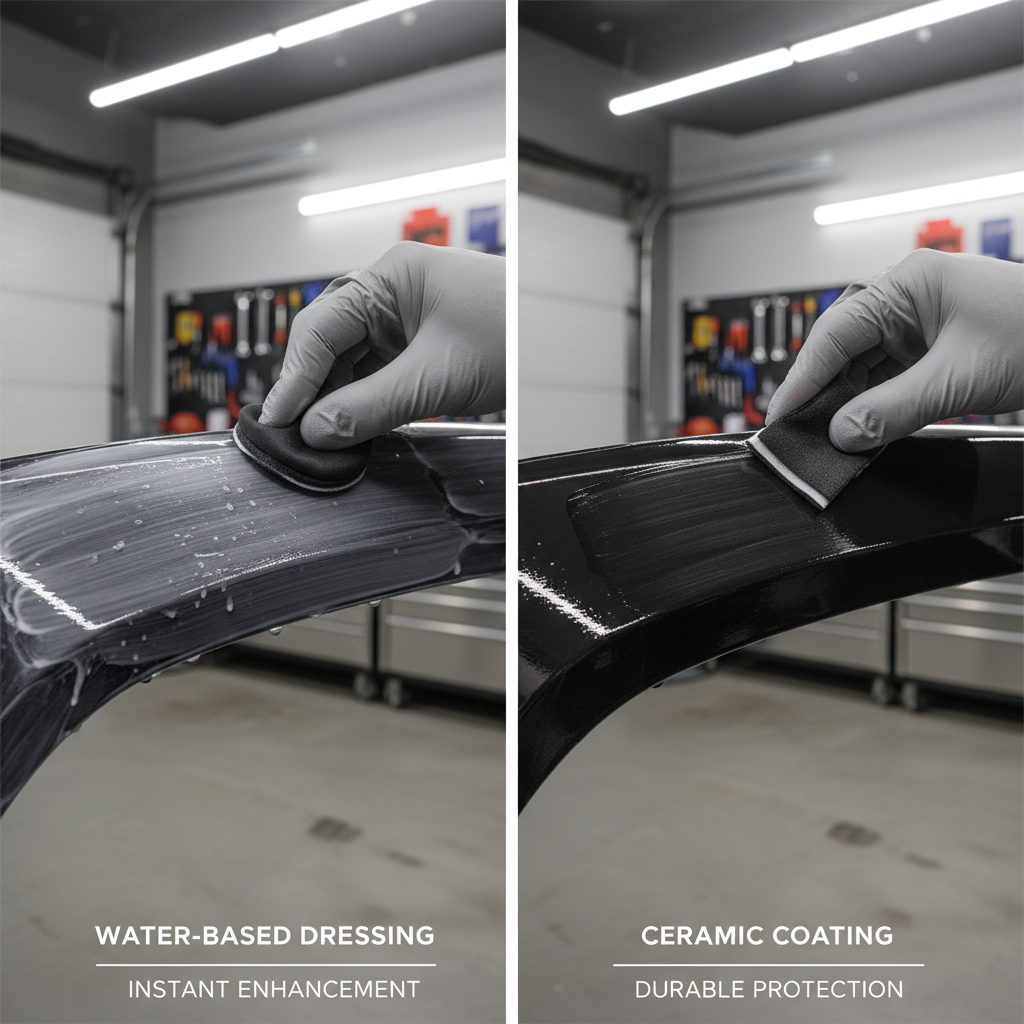
1) Water-based dressings (easy, short-lived)
These are quick to apply, lower odor, and usually less greasy. They’re great if you wash often and want a clean, satin look, but durability is typically measured in washes, not months.
- Best for: leased cars, frequent washers, mild climates
- Watch-outs: fades unevenly if prep is weak
2) Solvent-based trim restorers (darker, better longevity)
These tend to “bite” into the surface more and can look richer on chalky trim. Many owners like them because they last longer than water-based dressings, but you have to control application to avoid streaks.
- Best for: heavily faded trim, textured plastics
- Watch-outs: can sling or attract dust if overapplied
3) Coatings and sealant-like products (most durable, most prep)
Think of these as trim-specific coatings that aim for weeks to months. They can look excellent, but they punish sloppy prep. If residue is left in the texture, you may see blotches.
- Best for: owners who want longevity and don’t mind careful prep
- Watch-outs: high spots, patchiness, more sensitive to application conditions
Quick self-check: which approach fits your car and your expectations?
If you want a result that feels “best” for you, match the product type to your reality, not just the before/after photos.
- Trim looks gray and chalky, feels rough: lean toward a stronger restorer or trim coating after thorough cleaning.
- Trim looks blotchy from old product: prioritize decontamination and a test spot before committing.
- You park outside in sun: consider a coating-style solution and plan maintenance every few months.
- You use touchless washes: expect faster degradation, even with better products.
- You hate glossy trim: choose satin/matte claims, apply thinner, and buff after curing.
A simple rule that holds up: if you’re not willing to do the prep, don’t buy the most “durable” option, it will look worse when applied poorly.
Choosing a best car exterior plastic restorer black trim: a practical comparison table
Not every brand labels things consistently, so shop by behavior and use-case. This table helps you narrow down what to buy without chasing hype.
| Type | Look | Typical durability | Prep needed | Good fit for |
|---|---|---|---|---|
| Water-based dressing | Satin to mild gloss | Days to a few washes | Basic cleaning | Quick refresh, frequent washing |
| Solvent-based restorer | Darker, richer | Weeks in many cases | Good cleaning + dry surface | Older trim, driveway detailing |
| Trim coating / sealant-like | Matte to satin (varies) | 1–6+ months (scenario-dependent) | Thorough cleaning, often alcohol wipe | Longer-term protection, outdoor parking |
How to restore black trim so it actually lasts (step-by-step)
best car exterior plastic restorer black trim results mostly come down to prep and application discipline. The product matters, but prep decides whether it looks even.
Step 1: Clean deeper than you think you need
- Wash the area with car shampoo, rinse well.
- Use an all-purpose cleaner diluted appropriately for exterior plastics, agitate with a soft brush to reach texture.
- Rinse thoroughly, then dry completely. Water hiding in texture can cause streaking.
If the trim has old wax residue along edges, a careful pass with a soft brush and cleaner usually helps. For stubborn residue, some detailers use isopropyl alcohol as a final wipe, but always spot-test because plastics vary.
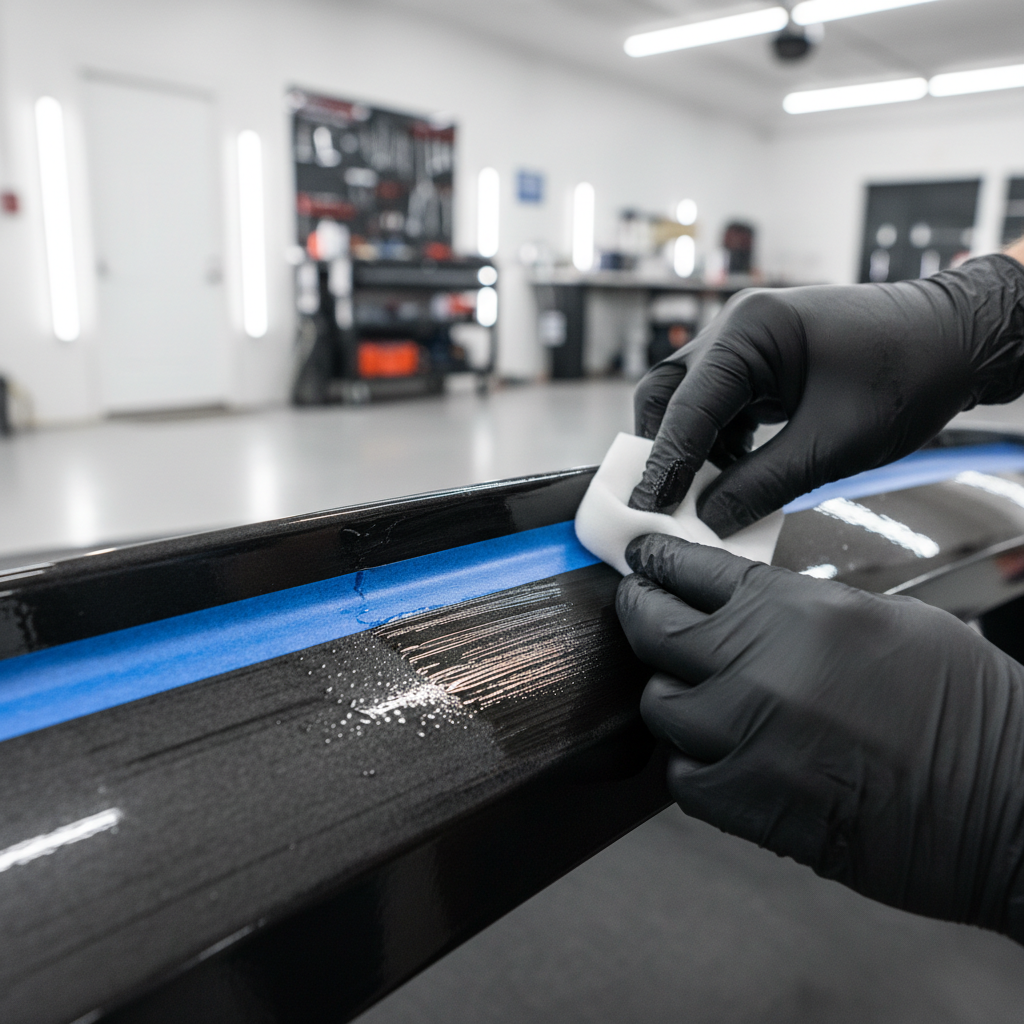
Step 2: Mask paint if you’re using a stronger product
Taping the edge takes two minutes and can save you from accidental staining or smears on paint. This matters more with coating-like products and dark dyes.
Step 3: Apply thin, then level it
- Put a small amount on a foam or microfiber applicator, not directly on the trim.
- Work in sections (say, half a bumper strip), then immediately spread evenly.
- Lightly buff with a clean towel to remove excess and reduce gloss, especially if you prefer OEM matte.
Thick application is where most streaks come from. Thin layers tend to cure more evenly, and you can always add a second coat after the first settles.
Step 4: Respect cure time and avoid an early wash
Many products need a few hours before water contact, and some coatings prefer a full day. Check the label, and if rain is coming, postpone. This one decision often separates “wow” from “why did it patch up?”
Mistakes that make trim look worse (common, fixable)
Most failures aren’t “bad product,” they’re avoidable habits.
- Skipping the texture scrub: the product sits on grime, then dries blotchy.
- Applying in direct sun: it flashes too fast, leaving high spots and uneven tone.
- Overloading the applicator: causes runs and shiny patches that scream “aftermarket.”
- Using the same towel everywhere: residue transfers onto paint or glass.
- Expecting permanent results: even good coatings degrade, especially with strong soaps or constant UV.
If you already have streaks, try re-cleaning, then reapplying a very thin coat to even the surface. In many cases, “less product” is the correction.
Maintenance: keep black trim dark without redoing everything
Once trim looks right, maintenance can be simple. The goal is to avoid stripping and avoid stacking too much product.
- Use a pH-balanced car shampoo for routine washes.
- After washing, dry trim fully to reduce water spotting in texture.
- If you used a coating-style restorer, top up with a compatible protectant rather than piling on heavy dressings.
According to the International Carwash Association (ICA), different wash methods and chemicals can affect vehicle surfaces; if you rely on touchless washes with stronger chemistry, plan for more frequent trim maintenance.
When it’s not just “restoration”: situations that need extra help
Sometimes the trim is beyond a simple restorer, or the problem isn’t oxidation.
- Deep whitening and pitting: texture may be physically degraded; improvement is possible, but full “new” look may not be realistic.
- Staining from chemicals: bug remover, solvent spills, or sunscreen can leave permanent marks on some plastics.
- Painted trim mistaken for plastic: using the wrong product can haze the finish; if you’re unsure, ask a detailing shop to identify the surface.
If you’re considering heat-gun methods, be careful. Heating plastic can permanently warp it, and in many cases it’s safer to consult a professional detailer rather than experimenting on a visible bumper piece.
Key takeaways (so you can buy once and apply once)
- The best look comes from prep, not from the fanciest bottle.
- Choose between dressing, solvent restorer, or coating based on how often you’ll maintain it.
- Apply thin, level it, and give it time to cure before water hits it.
- If trim is physically degraded, set expectations and consider pro help.
Conclusion: a realistic way to pick your “best” trim restorer
best car exterior plastic restorer black trim is less about one universal winner and more about matching chemistry to your trim condition and your patience level. If your trim is mildly faded, a quality dressing can be totally fine. If it’s chalky and you park outside, a more durable restorer or trim coating usually makes more sense.
Your next move is simple: do a test spot after a deep clean, then commit to the product type that fits your maintenance habits, not someone else’s garage routine.
FAQ
What lasts longer on black trim, a dressing or a coating?
In many cases a trim coating lasts longer because it bonds more like a protectant layer, while a dressing sits more on the surface. Real durability still depends on washing habits and UV exposure.
Can I use tire shine as a plastic trim restorer?
You can, but it often looks too glossy and tends to wash off quickly. Some tire shines also sling onto paint. If you want a more OEM look, choose a trim-labeled product and apply thin.
Why does my trim look streaky after applying a restorer?
Streaking usually comes from leftover oxidation, wax residue, or too much product in one pass. Re-clean, dry fully, then apply a lighter coat and buff the excess.
Will trim restorer stain paint or glass?
Some stronger restorers can leave smears or staining if they dry on paint or porous surfaces. Masking edges and wiping mistakes quickly helps; always spot-test if you’re uncertain.
How do I know if my trim is painted or raw plastic?
Painted trim typically has a smoother, clearer finish and may show chips like paint. Raw plastic is more textured and fades to gray. If you can’t tell, a local detailer can usually identify it fast.
How often should I reapply a trim restorer?
It varies by product type and environment. Dressings may need reapplication every few washes, while coating-style products might hold for months. Watch for uneven lightening as your cue.
Is using a heat gun on plastic trim safe?
It can work in some situations, but it’s easy to overheat and permanently warp or discolor plastic. If you’re not experienced, consider a safer chemical restorer or ask a professional.
If you’re trying to pick a best car exterior plastic restorer black trim option without trial-and-error, it often helps to start with a small test kit or a single-panel test approach, that way you can see the finish level and durability on your exact trim before you commit to the whole vehicle.