
how to replace car headlight bulb low beam high beam is usually simpler than people think, but it’s also easy to mess up if you buy the wrong bulb type or touch the glass and shorten its life.
If your low beams look dim, one side is out, or your highs don’t “throw” light like they used to, a bulb swap can restore nighttime visibility and help you avoid a ticket or a stressful drive home.
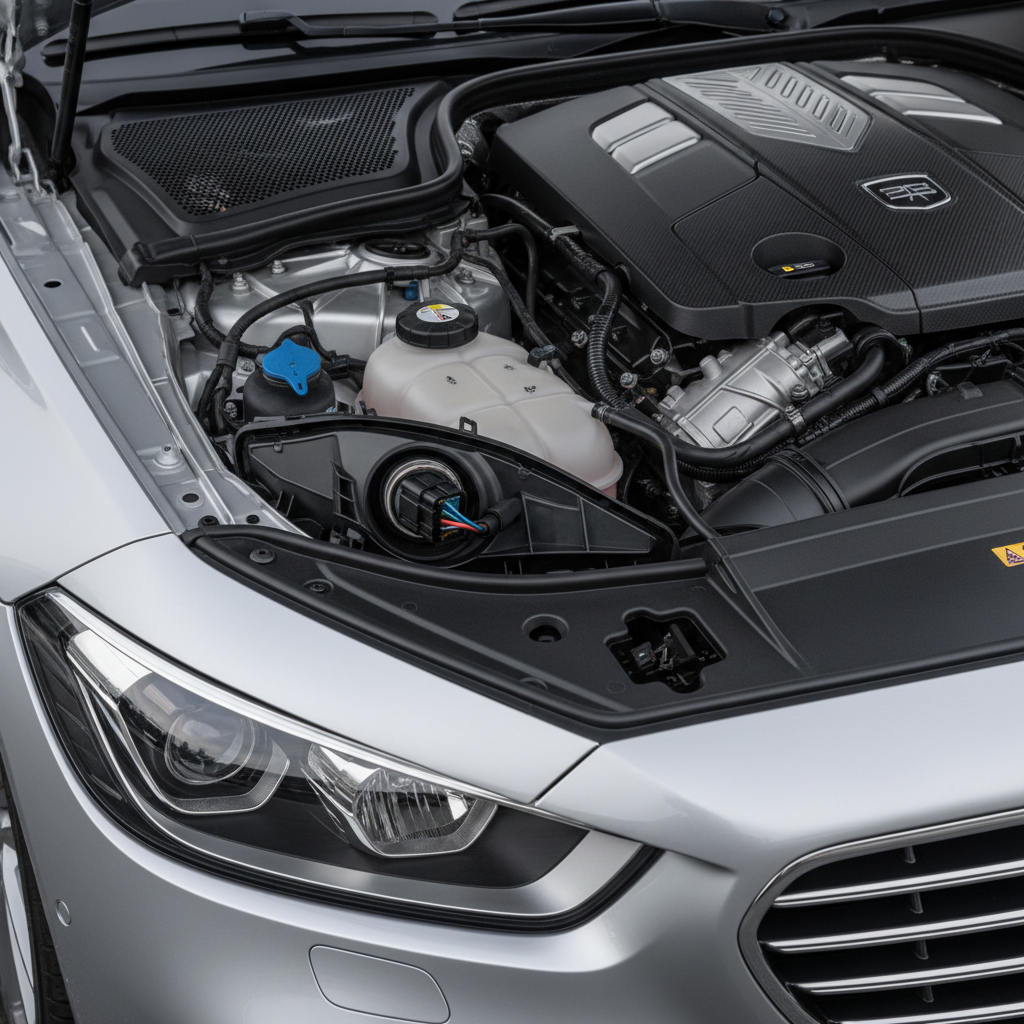
One quick heads-up before you start: “low beam” and “high beam” can be separate bulbs, a single dual-filament halogen bulb, or an LED/HID system with its own quirks. This guide helps you figure out which setup you have, then walks you through a clean, safe replacement.
Before you buy: confirm what bulb your car actually uses
Most wasted time comes from grabbing a bulb that “should fit” and then discovering the connector or locking ring doesn’t match. Spend two minutes verifying the spec and you’ll save yourself a return trip.
- Check the owner’s manual for headlamp bulb size (common halogen types include H11, 9005, 9006, 9012, H7).
- Look at the existing bulb and read the code printed on the base, if access is easy.
- Use a reputable parts lookup (auto parts retailer sites or your dealer parts catalog) by year/make/model/trim.
According to NHTSA, headlights are a safety-critical component, so if your vehicle uses a system you’re not comfortable handling (especially HID with external ballast), it’s reasonable to ask a shop for help.
Low vs high beam setups: what changes in the job
Your replacement steps depend on how the car is designed, not just the bulb number. Here’s the practical cheat sheet.
| Common setup | What you’ll see | What it means for replacement |
|---|---|---|
| Separate bulbs | Two different bulbs per headlamp | Low beam and high beam are swapped independently |
| Dual-filament halogen | One bulb does low + high | One bulb swap fixes both functions |
| LED headlamp module | Sealed or complex housing | May be bulb-replaceable or may require module service, depends on model |
| HID (xenon) with ballast | Bulb + ballast/igniter components | Extra caution, avoid powering system during work |
Tools and supplies that make this painless
You can replace many bulbs with just your hands, but tight engine bays turn “quick job” into a knuckle-buster. This kit covers most situations.
- New bulb(s), ideally replace in pairs so color and brightness match
- Nitrile gloves or a clean paper towel (prevents skin oils on halogen glass)
- Small flathead screwdriver (for clips on some air boxes or covers)
- 10mm socket/ratchet (common for intake snorkels and brackets)
- Flashlight/headlamp
- Dielectric grease (optional, a tiny amount on connector seal can help in wet climates)
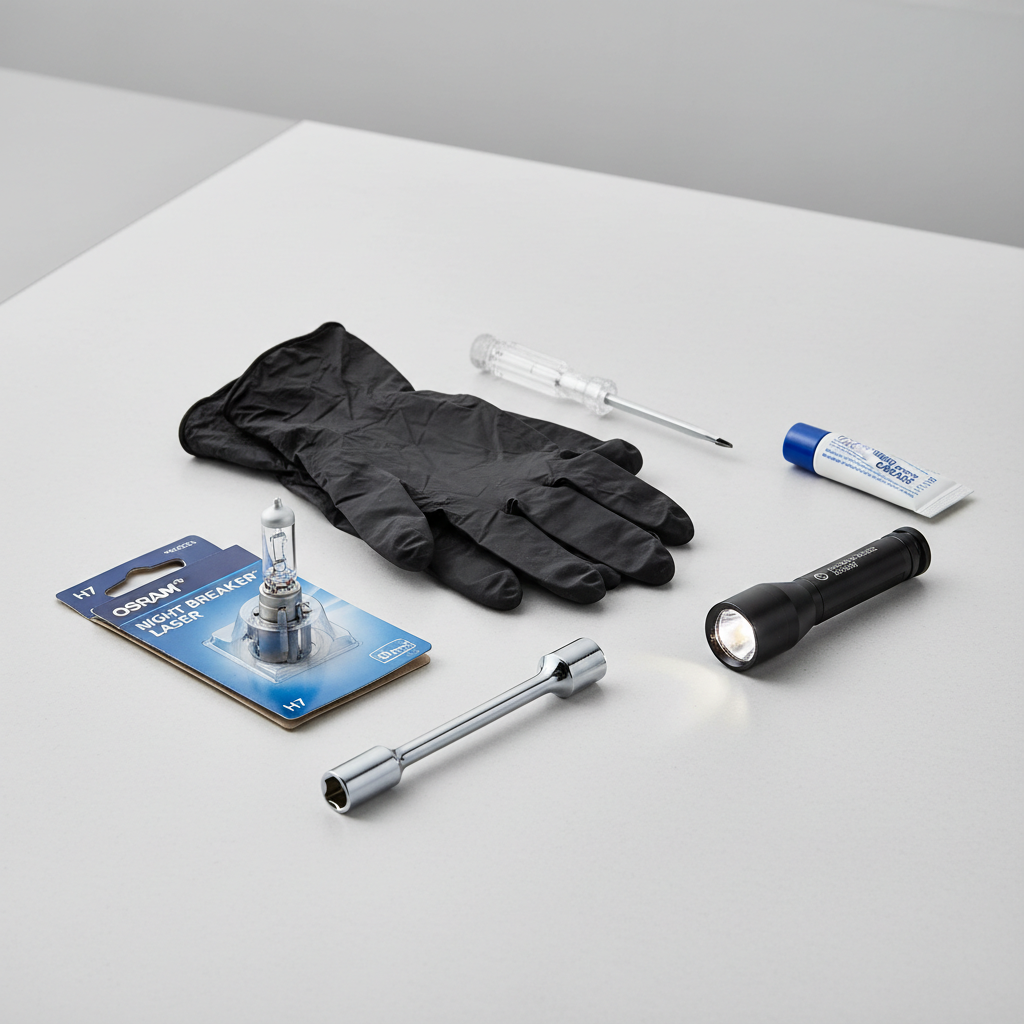
Key point: If you’re installing halogen bulbs, don’t touch the glass. Oils can create hot spots and the bulb often fails early. If you accidentally touch it, cleaning with isopropyl alcohol and a lint-free cloth usually helps.
Quick self-check: should you replace the bulb or troubleshoot first?
Not every “headlight problem” is a dead bulb. If you swap parts blindly, you can burn time and money.
- One side out: very often the bulb, but also check the connector for corrosion and the fuse.
- Both low beams out at once: less common for two bulbs to fail together, check fuses, relays, and the headlight switch.
- High beams work, low beams don’t: could be the low-beam bulb(s) or a low-beam circuit issue.
- Flicker (especially HID/LED): can point to a ballast/driver issue or a loose connection.
- Moisture inside the housing: fix the seal/venting too, or new bulbs may not last.
If you notice melted plastic at the connector, a burnt smell, or recurring fuse blows, stop and consider a professional diagnosis. Electrical heat problems can escalate.
Step-by-step: how to replace low beam and high beam bulbs (most vehicles)
This is the common “access from behind the headlight” method used on many U.S. cars and trucks. Your exact fasteners vary, but the sequence stays similar.
1) Park safely and let things cool
- Park on level ground, set the parking brake, turn lights off.
- Give the headlight area time to cool, halogens and nearby components get hot.
2) Open the hood and locate the correct bulb
- Find the rear of the headlight housing.
- Identify which socket is low vs high, your manual often includes a diagram.
3) Create access if the engine bay is tight
Some cars require moving a washer-fluid neck, intake snorkel, or a small cover. Remove only what you must, and keep fasteners together so reassembly stays simple.
4) Disconnect the electrical connector
- Press the tab and pull straight back.
- If it’s stubborn, don’t yank wires, work the connector body gently.
5) Remove the bulb retaining mechanism
Common retention styles include a twist-lock base, a wire spring clip, or a plastic locking ring. Turn or unclip it, then pull the bulb straight out.
6) Install the new bulb correctly
- Hold the bulb by the base, not the glass.
- Align tabs and seat the bulb fully, misalignment can throw off beam pattern.
- Re-lock the ring/clip, then reconnect the harness until it clicks.
7) Test low beam and high beam before reassembly
- Switch on low beams, then highs.
- Confirm both sides match in color and intensity as closely as practical.
After installation: aim check, brightness expectations, and common issues
A bulb swap won’t always feel dramatic, especially if the other side was also aged. What you want is even light, clean cutoff (for low beams), and predictable distance on highs.
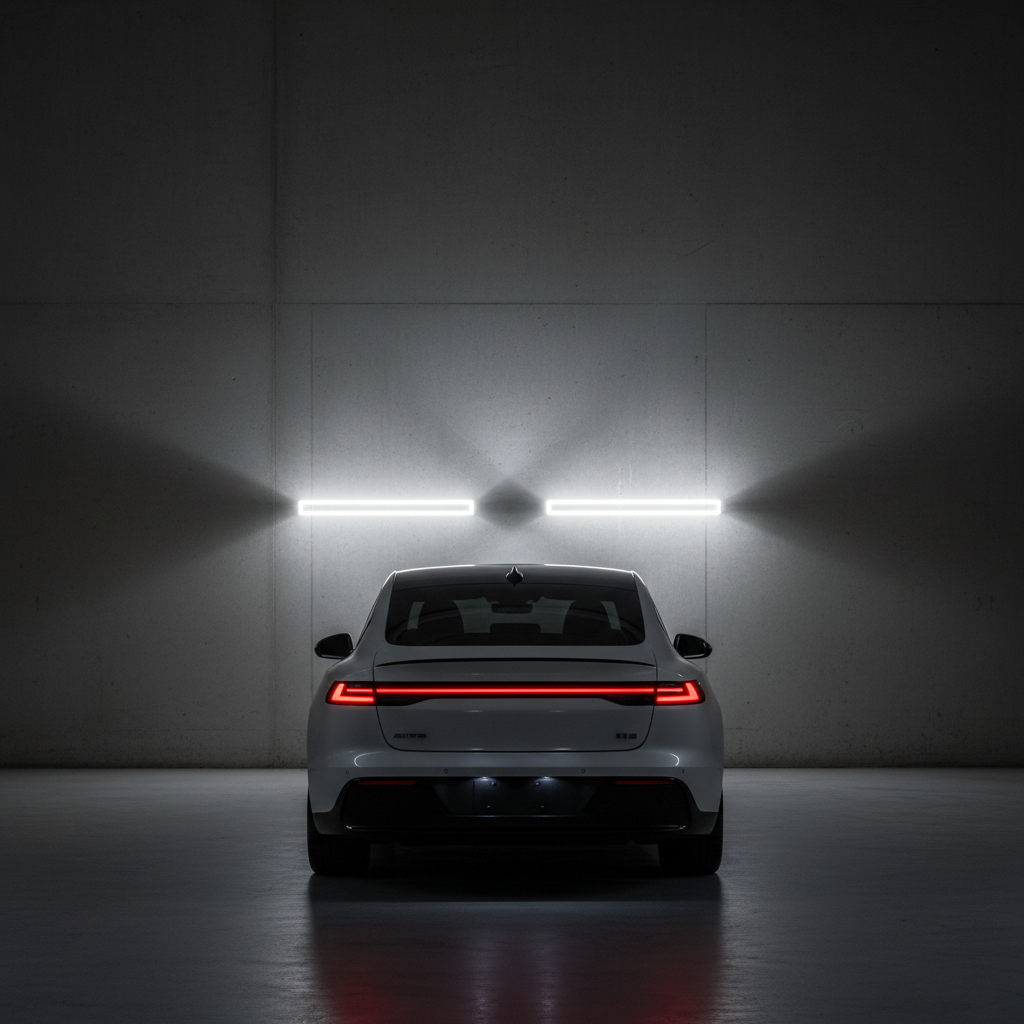
Quick aiming check at home: on flat ground, aim at a wall and compare left vs right. If one beam looks wildly higher or scattered, the bulb may not be seated correctly, or the housing/adjusters may need attention.
- If the new bulb doesn’t light: re-check the connector click, verify you installed the correct bulb type, inspect fuse/relay.
- If it flickers: look for a loose connector; with HID/LED, a driver/ballast might be failing.
- If the beam looks “wrong”: the bulb tabs may be off by one notch, remove and re-seat.
According to AAA, maintaining good visibility is a key part of safe driving, and working lights are a basic pre-trip check. If your beam aim seems off after correct installation, a shop can set it properly with aiming equipment.
Mistakes that shorten bulb life (and how to avoid them)
- Touching halogen glass: use gloves, clean if contact happens.
- Replacing only one side: the older bulb often fails soon after, plus color mismatch is annoying.
- Over-upgrading wattage: higher wattage can overheat housings and wiring; stick to spec unless a professional confirms compatibility.
- Skipping housing moisture issues: condensation often signals a seal/vent problem that keeps coming back.
- Forgetting to lock the bulb: a loose bulb can vibrate, arc at the connector, or distort the beam.
When it’s smarter to get professional help
Plenty of vehicles are DIY-friendly, but a few situations are not worth forcing in a driveway.
- Access requires bumper removal or pulling the entire headlamp assembly
- You have an HID system and you’re unsure about ballast/igniter handling
- Repeated bulb failures in a short time, which can indicate voltage or moisture problems
- Melted connectors, brittle wiring, or a burning smell
If you’re in one of these categories, a reputable shop or dealer service department can confirm the root cause and keep the repair safe and compliant.
Conclusion: a reliable routine for brighter, safer night driving
Once you know your bulb type and how your low and high beams are configured, replacing them becomes a repeatable process: verify the part, protect the bulb, seat it correctly, then test before buttoning everything up. If you do one thing today, replace bulbs in pairs and double-check the beam pattern against a wall, that small extra step prevents most “why is my headlight weird now?” moments.
FAQ
How do I know if my car uses one bulb for low and high beam?
Look for a single bulb listed for “headlamp” in the manual or parts lookup, or inspect the housing and see if there’s only one bulb socket per side. Many dual-function halogen bulbs are common on older designs, while newer setups often separate low and high.
Do I really need to replace both low beam bulbs at the same time?
In many cases, yes. Bulbs dim with age, so a fresh bulb on one side and an older bulb on the other can look mismatched, and the older one often fails soon after. If budget is tight, at least keep a matching spare in the car.
Why is my new headlight bulb not working right after installation?
The usual culprits are a connector that isn’t fully latched, the wrong bulb type, or the bulb not seated in the correct orientation. If both bulbs on the same circuit won’t light, checking fuses and relays makes more sense than swapping parts again.
Can I replace halogen bulbs with LED bulbs?
It depends on your vehicle and local regulations. Some LED retrofit bulbs can create glare in housings designed for halogen filament placement, even if they “fit.” If you go that route, verify compatibility, aim carefully, and consider a professional opinion if the beam pattern looks scattered.
Is it safe to replace an HID (xenon) bulb myself?
Many people do, but HID systems involve high voltage at startup and extra components like ballasts. If you’re not confident identifying parts and disconnecting power safely, having a shop handle it is a sensible call.
How long should headlight bulbs last?
It varies by bulb type, usage, vibration, and electrical conditions. If you’re seeing frequent failures, moisture in the housing or a wiring/charging issue may be contributing, and it’s worth diagnosing rather than repeatedly installing new bulbs.
Do I need to aim headlights after changing a bulb?
Usually you don’t need a full aim procedure if the bulb seats correctly and nothing else moved. Still, a quick wall check can catch a mis-seated bulb right away, and a shop can properly aim them if the pattern seems off.
If you’re trying to replace low or high beams but your model has cramped access, unusual locking rings, or an LED module that’s not clearly serviceable, a vehicle-specific guide can save time and frustration, and in some cases a quick inspection by a local shop is the most efficient path.